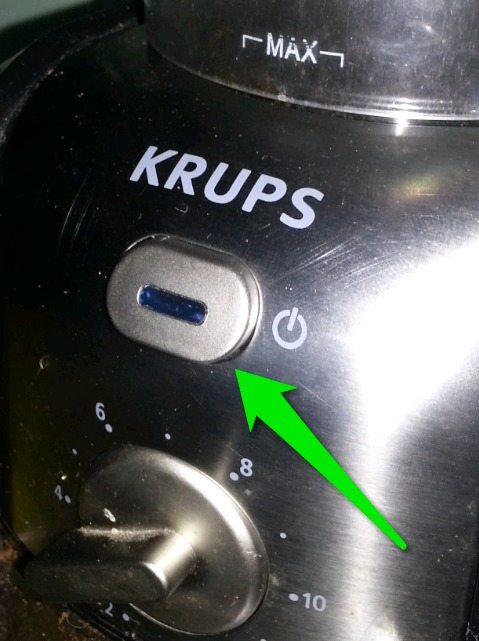
At the web I found, lotsa informations about people also having trouble with the named KRUPS device.
Most problems are – like mine – with the Start-Button.
I lost my one some day after pressing.
Here is my introduction for self repairing the device:
To open the device I used a very good explanation http://onthebackside.blogspot.de/2008/05/krups-gvx2-coffee-grinder.html
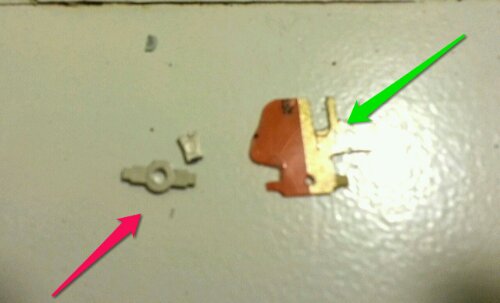
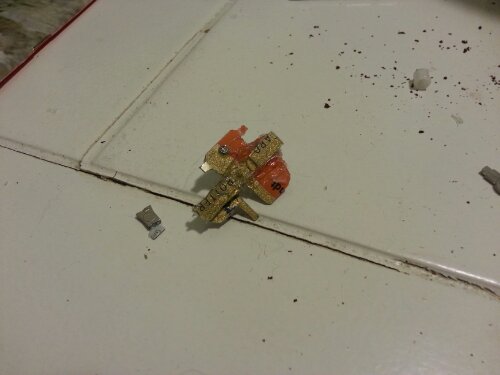
Watching inside obviously the construction of the button was very cheap made.
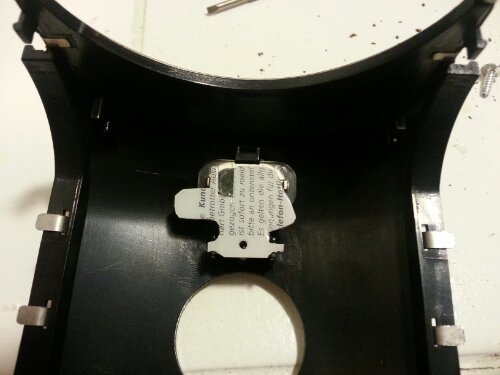
So I made an own holding for the button, with a cutter, an old kind of a credit card and hot glue.
Since this the device looks and works better than before.
See my pictures for explanation :
Red arrow = old one
Green arrow = new one


Thanks for the Krups grinder switch tutorial; I was able to repair mine after reading your post and the linked article.
BEWARE !!
It’s very easy for the circuit board to not engage in the guide slots at the top when you put the front cover back on. If the board is not in the top guide it’s forced back a few millimetres and everything looks okay but it stops the new button from reaching the microswitch.
Thanks for a great guide.
Thanks from Finland, too! One more GVX2 fixed. :)
Worked liker a charm for me too! The link to the dis-assembly instructions was also very helpful. The only suggestion I would make is that with a similar pattern to the one you used, the blue LED wasn’t shining through the front of the power button for me. I just checked to see exactly where the LED bulb was located and cut away a little more plastic and Now it works like new. Thanks for taking the time to post the info.
Many thanks for this. If you don’t want to fabricate a replacement for the button holder, you can buy a new start button online, which can just be screwed into place (it’s the little bracket that holds it that breaks, not the button itself, but the new one comes with a new bracket). You get the grind knob in the same package, too, in case you broke that getting it off. The part number is SS-192581; if you put that and Krups into Google, you’ll quickly find someone who will deliver to your country. Costs about $4 in the US, a bit more in other countries.
Dear All:
I happened to spend only 1 hour and a half fixing my coffee grinder with a dear friend of mine. I mention her , because thanks to having 4 hands, made the task easier. Some additional improvements in fabricating this plastic credit card piece is considering a notch for the light led to keep illuminating the button while on. For this, Just cut a rounded notch on the upper part of the credit card plastic piece and have in hand a swiss knife emery to craft the piece in a way it snaps into the plastic brackets of the original piece, leaving enough space for the led to illuminate the button.
Thanks from England :) Another grinder fixed. I just cut a strip of credit card slightly wider than the tang and packed it out with two more shorter strips to account for the step down in after the clear plastic on the back of the button itself to the silver tang. I tried hot glue, but it didn’t stick well (might just be my glue stick. I don’t know if there are different types) I used cyanocrylate superglue and it seems to have worked fine. Thanks to Steven Lea for posting the part no. If it come unstuck or breaks again I’ll probably fit one of those as it’s easy to get apart now I know how!
Thank you for your guide.
It’s a poor design for the start button to hinge on a strip of plastic which will inevitably break.
I just removed the power button altogether and simply press the microswitch with my little finger. Not the best solution, but it works. Probably best to keep one’s finger dry though :)
Excellent! Thanks for the info. Another GVX2 successfully repaired and spared from landfill. Regards – Marty U.K.
Pingback: disassembling KRUPS GVX 2 for start button repair – Evhen`s
it worked for me. better than new.
Good article, thank you.
I fixed the button using material from a soda can and super glue. Glued some aluminum from the can to the hinge – the wife is happy again.
Thank you. I had the same issue. Epoxy and old credit card did the trick
This was really helpful thank you. I used a Demel which helped to shape the various holes through the plastic card to ensure a good fit. This is now 2020 and you would have hoped that the designers at Bosch would have come up with a Mik II by now.